Activation Steps – Shopify
Before you start
1. Create HiConversion Account
If you do not have your HiConversion Account already, please sign up.
2. Get your Site ID
Copy your Site ID from the Site Settings page in your account. You can access it by using the dot menu or by clicking your site name in the upper right.

App Installation Steps
No programming required. Just follow the steps below.
1. Get the HiConversion App
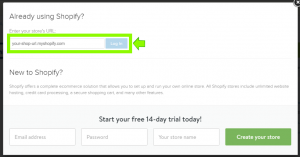
Enter your shop domain and click install to get the app.
If you are not logged in to your Shopify store, you will be prompted to login first.
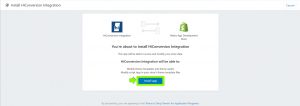
Click the Install App button on the following screen.
2. Add your Site ID to the app
Go to the HiConversion App admin page within your shop admin.


Add your Site ID and click the Save button.
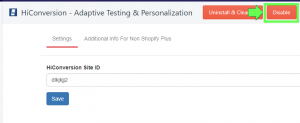
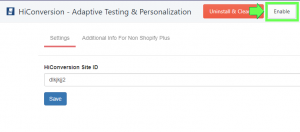
Ensure that your tag is enabled (you should not see an Enable button on the HiConversion App admin page, only a Disable button).
Test Tag
Automated Test
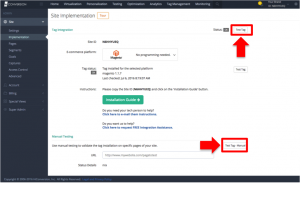
Just go to HiConversion > Site Settings > Implementation and click the Test Tag button.
For Shopify Plus
If you don’t currently have a checkout.liquid layout file, then you will need to create one first by following the steps below.
Note: If you already have a checkout.liquid layout file, you can safely ignore these steps. At this point, the HiConversion Shopify App should be properly installed on your site.
Go to the Edit Code section of your theme.

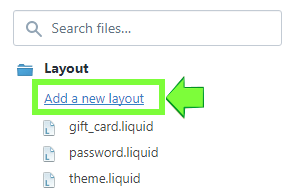
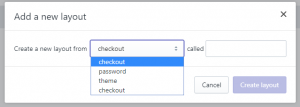
Click Add a new layout
In the drop down menu of the popup, you will find a checkout option. Add that file and it will create a checkout.liquid template for you.
Note: If you don’t see the checkout.liquid file you may need to contact your Merchant Success Manager and ask them to enable the checkout.liquid layout for you.
For Non Shopify Plus
One more step is required for non Shopify Plus users to properly track conversions.
Go to the Additional Info for Non Shopify Plus section of the Shopify app.

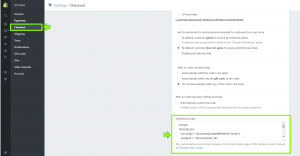
Copy the code snippet out of this section and place it in the Additional scripts section of your checkout settings.
Note: If you already have code snippets in that section, simply add this code at the bottom after the other snippets. Click here for more details.

End Result
HiConversion’s Shopify integration is introduced to minimize the effort needed to collect web visitor activity data, to configure site properties, and to enable ongoing optimization without any IT support.
Data Collection
This one-time connector activation replaces site tagging required by traditional web analytics solutions.
Virtual Customization
The connector is designed to automatically detect site configuration properties, like conversion goals or page classes.
Site Map
HiConversion’s visual point and click admin interface enables you to customize your setup without any need for additional tagging or IT support.
Need help? Contact support


